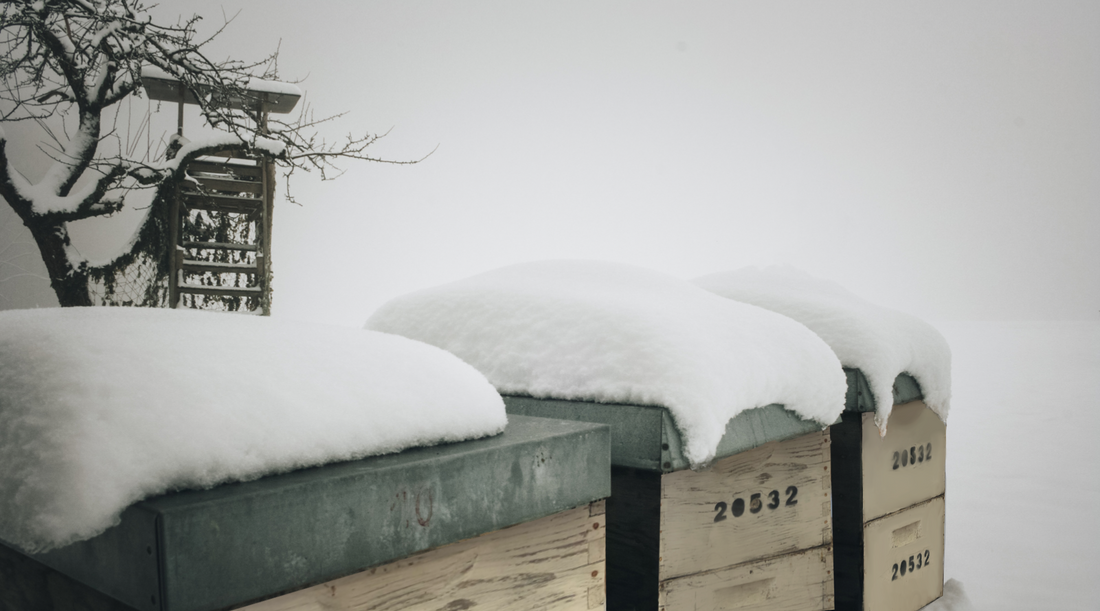
Winter is coming, and you should begin preparing for it now. Getting your beehives ready for winter can be hard work, but once you have prepared them the right way, your bees will go into winter strong.
Read more below on what you should be doing now to be able to prepare your hive for winter.
STEP 1:
The first step that you need to do is empty all honey supers. Keep the two bottom boxes in place. These contain the stored honey your bees will need for the winter. This is typically enough space inside for an average sized colony. Make sure not to make it too roomy because this can attract intruders, as well as make it hard for the beehive to regulate temperatures.
STEP 2:
The queen should be laying eggs right now. When checking the hive make sure to look for brood. If the queen isn't laying or your bee numbers are too low, it might be better to hurry and order a new queen, unless the hive is too small and weak. If so see step 3 on what you can do.
STEP 3:
Your hive should be large and strong before going into winter. If two beehives are having a problem with population/size it might be best to combine the two weak, small hives. Doing this can help make the hive stronger, and ready for the cold. How you can combine them is to kill one queen before adding the colonies together. Wait 24 hours before combining, then add newspaper between the boxes and spray with sugar water and they will slowly get used to each other.
STEP 4:
You need to start looking at the honey storage in the bottom boxes and make sure you're feeding your bees vigorously with liquid bee feed or patties to strengthen the hive and prevent them from dipping into their honey stores too early. Bees typically start running out of food around February or March. You don't want them to run out sooner because the likelihood of your hive dying will go up significantly more. So, make sure that you're out every week feeding your hives so they can go into winter strong.
STEP 5:
When preparing your hive make sure the frames with stored honey are in the correct place. The honey frames should be on both sides of the cluster as well above the cluster. This will be able to help your hive find honey, as well have easier access to it.
STEP 6:
At this point, you should be using an inner cover. If you haven't already, it's probably a great time to start adding them to your hives. Inner covers help keep the hive better insulated and warm. It makes it easier for the bees so they don't have to use up all their energy to keep the hive warm.
STEP 7:
With this step you should start reducing the entrance. Using our entrance reducer is necessary, and will also help keep pests out of the hive. When using our entrance reducer, there is no need for any mouse guard as our reducer sits in front of, and not underneath, the hive box. Therefore, pests cannot push it under the box to gain access to the hive.
STEP 8:
Make sure your hive does not have too much vegetation around it. Be sure to clear weeds and other items that might be around your hive. It's a good idea to have that cleared so you can be able to see what's going on around your hive. For example, if there are any skunks, or pests you can see the dead bees on the ground, pawprints, scratch marks, or other indicators. We also recommend placing your hive on a hive stand to raise it off the ground.
STEP 9:
When closing off your beehives, make sure there is some ventilation to the hive. You don't want to close it off completely where the bees do not have any air. This helps them be able to regulate their temperature as well as use the bathroom or dispose of their dead bees on warmer sunny days. In the west we don’t have this problem, but if you live in the east you should use a moisture board, or use a quilt/sugar board.
STEP 10:
If you are in a place where there is heavy snow, rain, wind or harsh weather look into using a metal flat or pitch top for your hive. Using a metal top can help your hive be protected from the harsh elements during winter. This will also be easier to have than using a plastic top since our metal tops don't fly off in the harsh windy winters.
Suggested Products:

