


Harvest Lane Honey
Bee Hive Stand for Beekeeping | Elevated Hive Base Support
Bee Hive Stand for Beekeeping | Elevated Hive Base Support
Couldn't load pickup availability
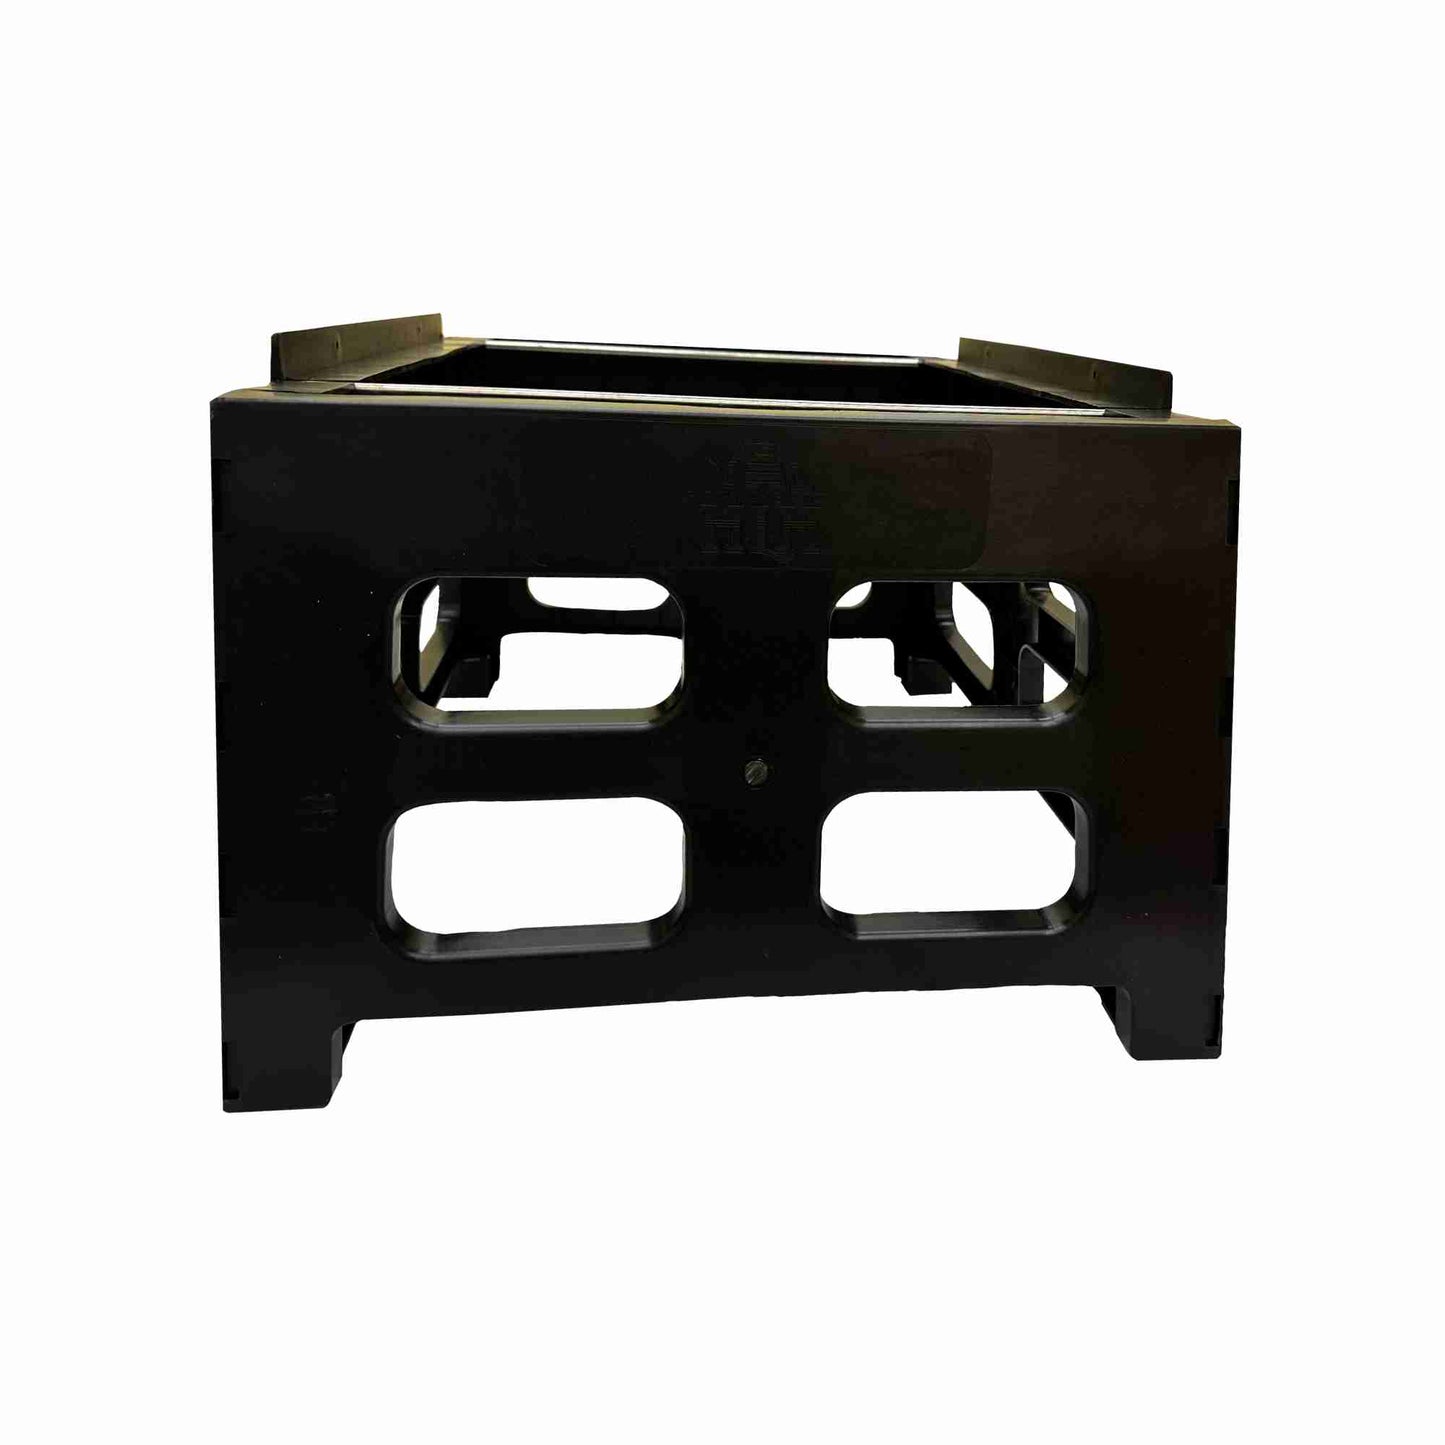
Hive Stand – Durable Support for a Healthier Hive
Give your bees the strong foundation they deserve with our Bee Hive Stand, designed to elevate and protect your hive for better performance year-round. Built with durability and stability in mind, this stand keeps your hive off the ground, improving airflow, reducing moisture buildup, and helping defend against pests. Perfect for both new and experienced beekeepers, the elevated design makes hive inspections easier and more comfortable while promoting overall colony health. Whether you’re setting up a backyard hive or expanding your apiary, this stand is a simple upgrade that delivers long-term benefits.
Features & Benefits:
- Size: 20" x 20" x 12" – ideal height for airflow and accessibility
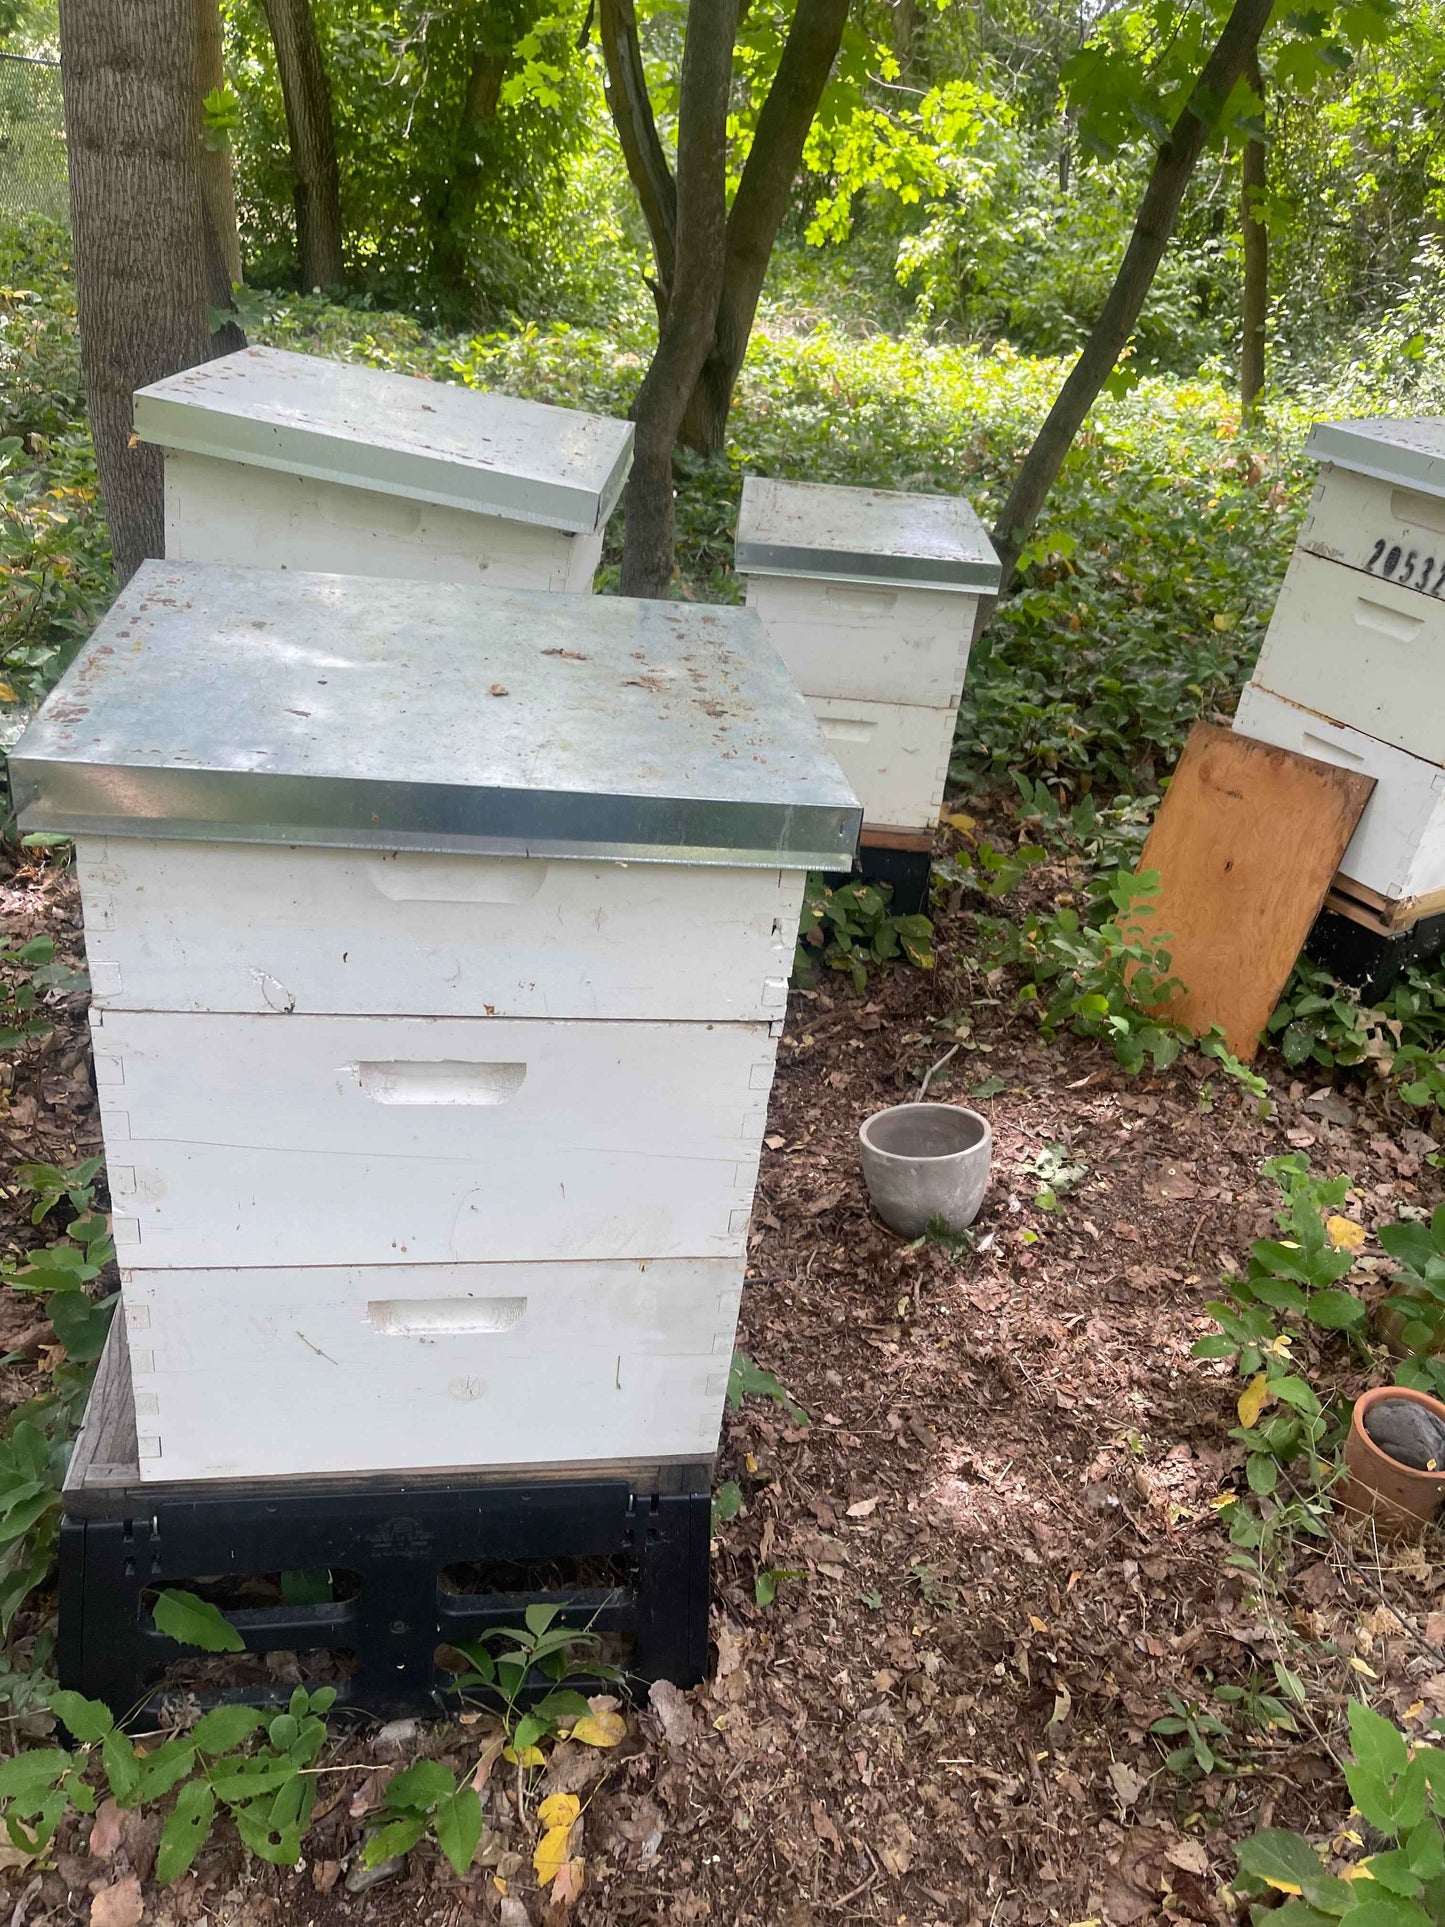
- Elevates hive to help prevent moisture damage and wood rot
- Promotes better ventilation for healthier colonies
- Helps deter pests and ground-level threats
- Sturdy, weather-resistant construction for long-term use
- Compatible with standard Langstroth hive setups
- Makes inspections easier with improved working height
Bee Hive Stand Assembly Instructions
Before You Start
Use a small amount of silicone spray to make assembly easier
Spray onto a paper towel, not directly onto the parts
The smaller side pieces are designed to receive the larger side pieces
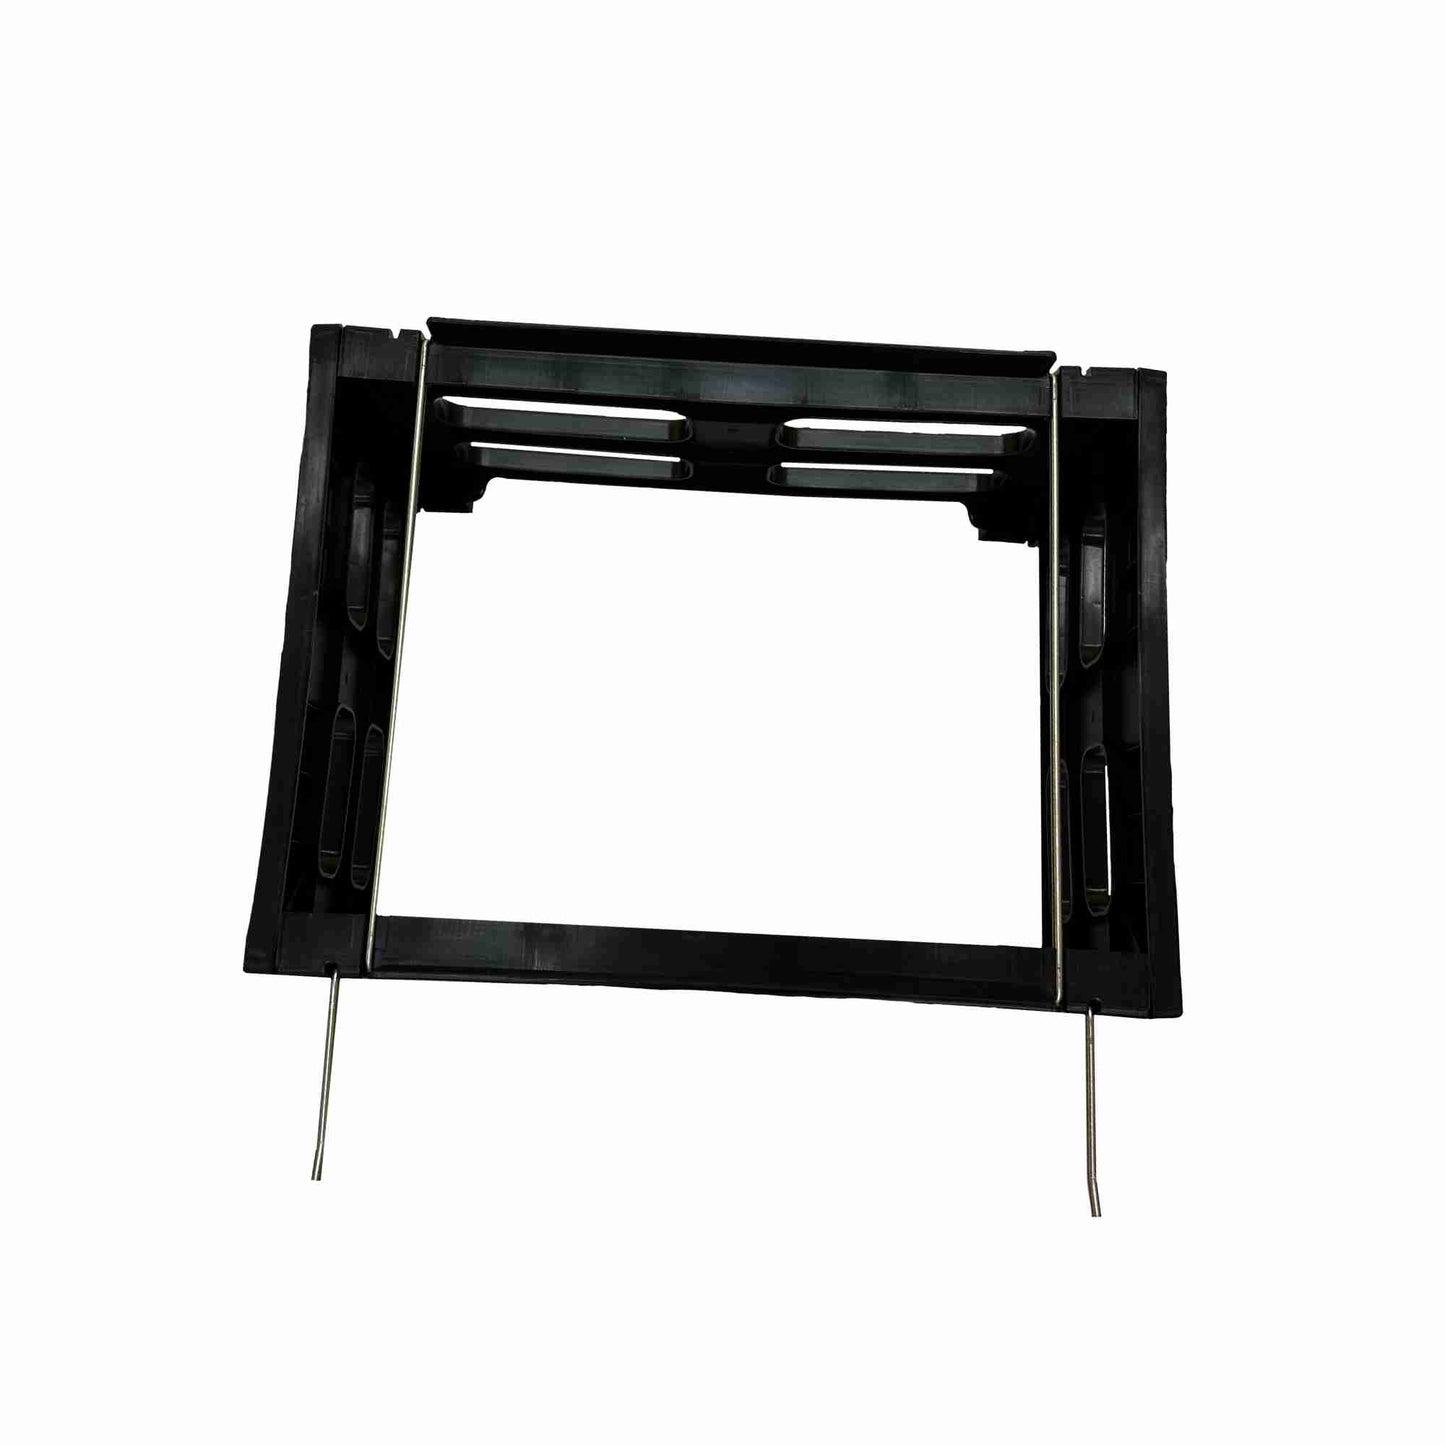
Parts Included
- (2) Small side pieces (receivers)
- (2) Large side/frame pieces
- Metal support bars (for added stability)
- (2) Metal Frame Holding Bars
Step 1 – First Connection
Wipe a light amount of silicone onto one end of a large frame piece.
Turn both pieces upside down so the legs are facing up.
Slide the large piece into the small side from the bottom.
Push slowly until you hear a firm “click.” If needed, gently wiggle the piece to help it slide in.
Step 2 – Second Connection
Set the assembled section on the ground with legs facing up.
Lightly wipe the next connection point with silicone.
Slide the large piece into the second small side.
Push until you hear another “click.”
Step 3 – Final Side
Apply a small amount of silicone to both ends of the last large piece. Bring the two smaller sides inward to line everything up. Start one side first, but don’t push it all the way in. Then start the other side. Once both ends are started, press or tap down evenly until everything is fully seated and you hear the final “clicks.”
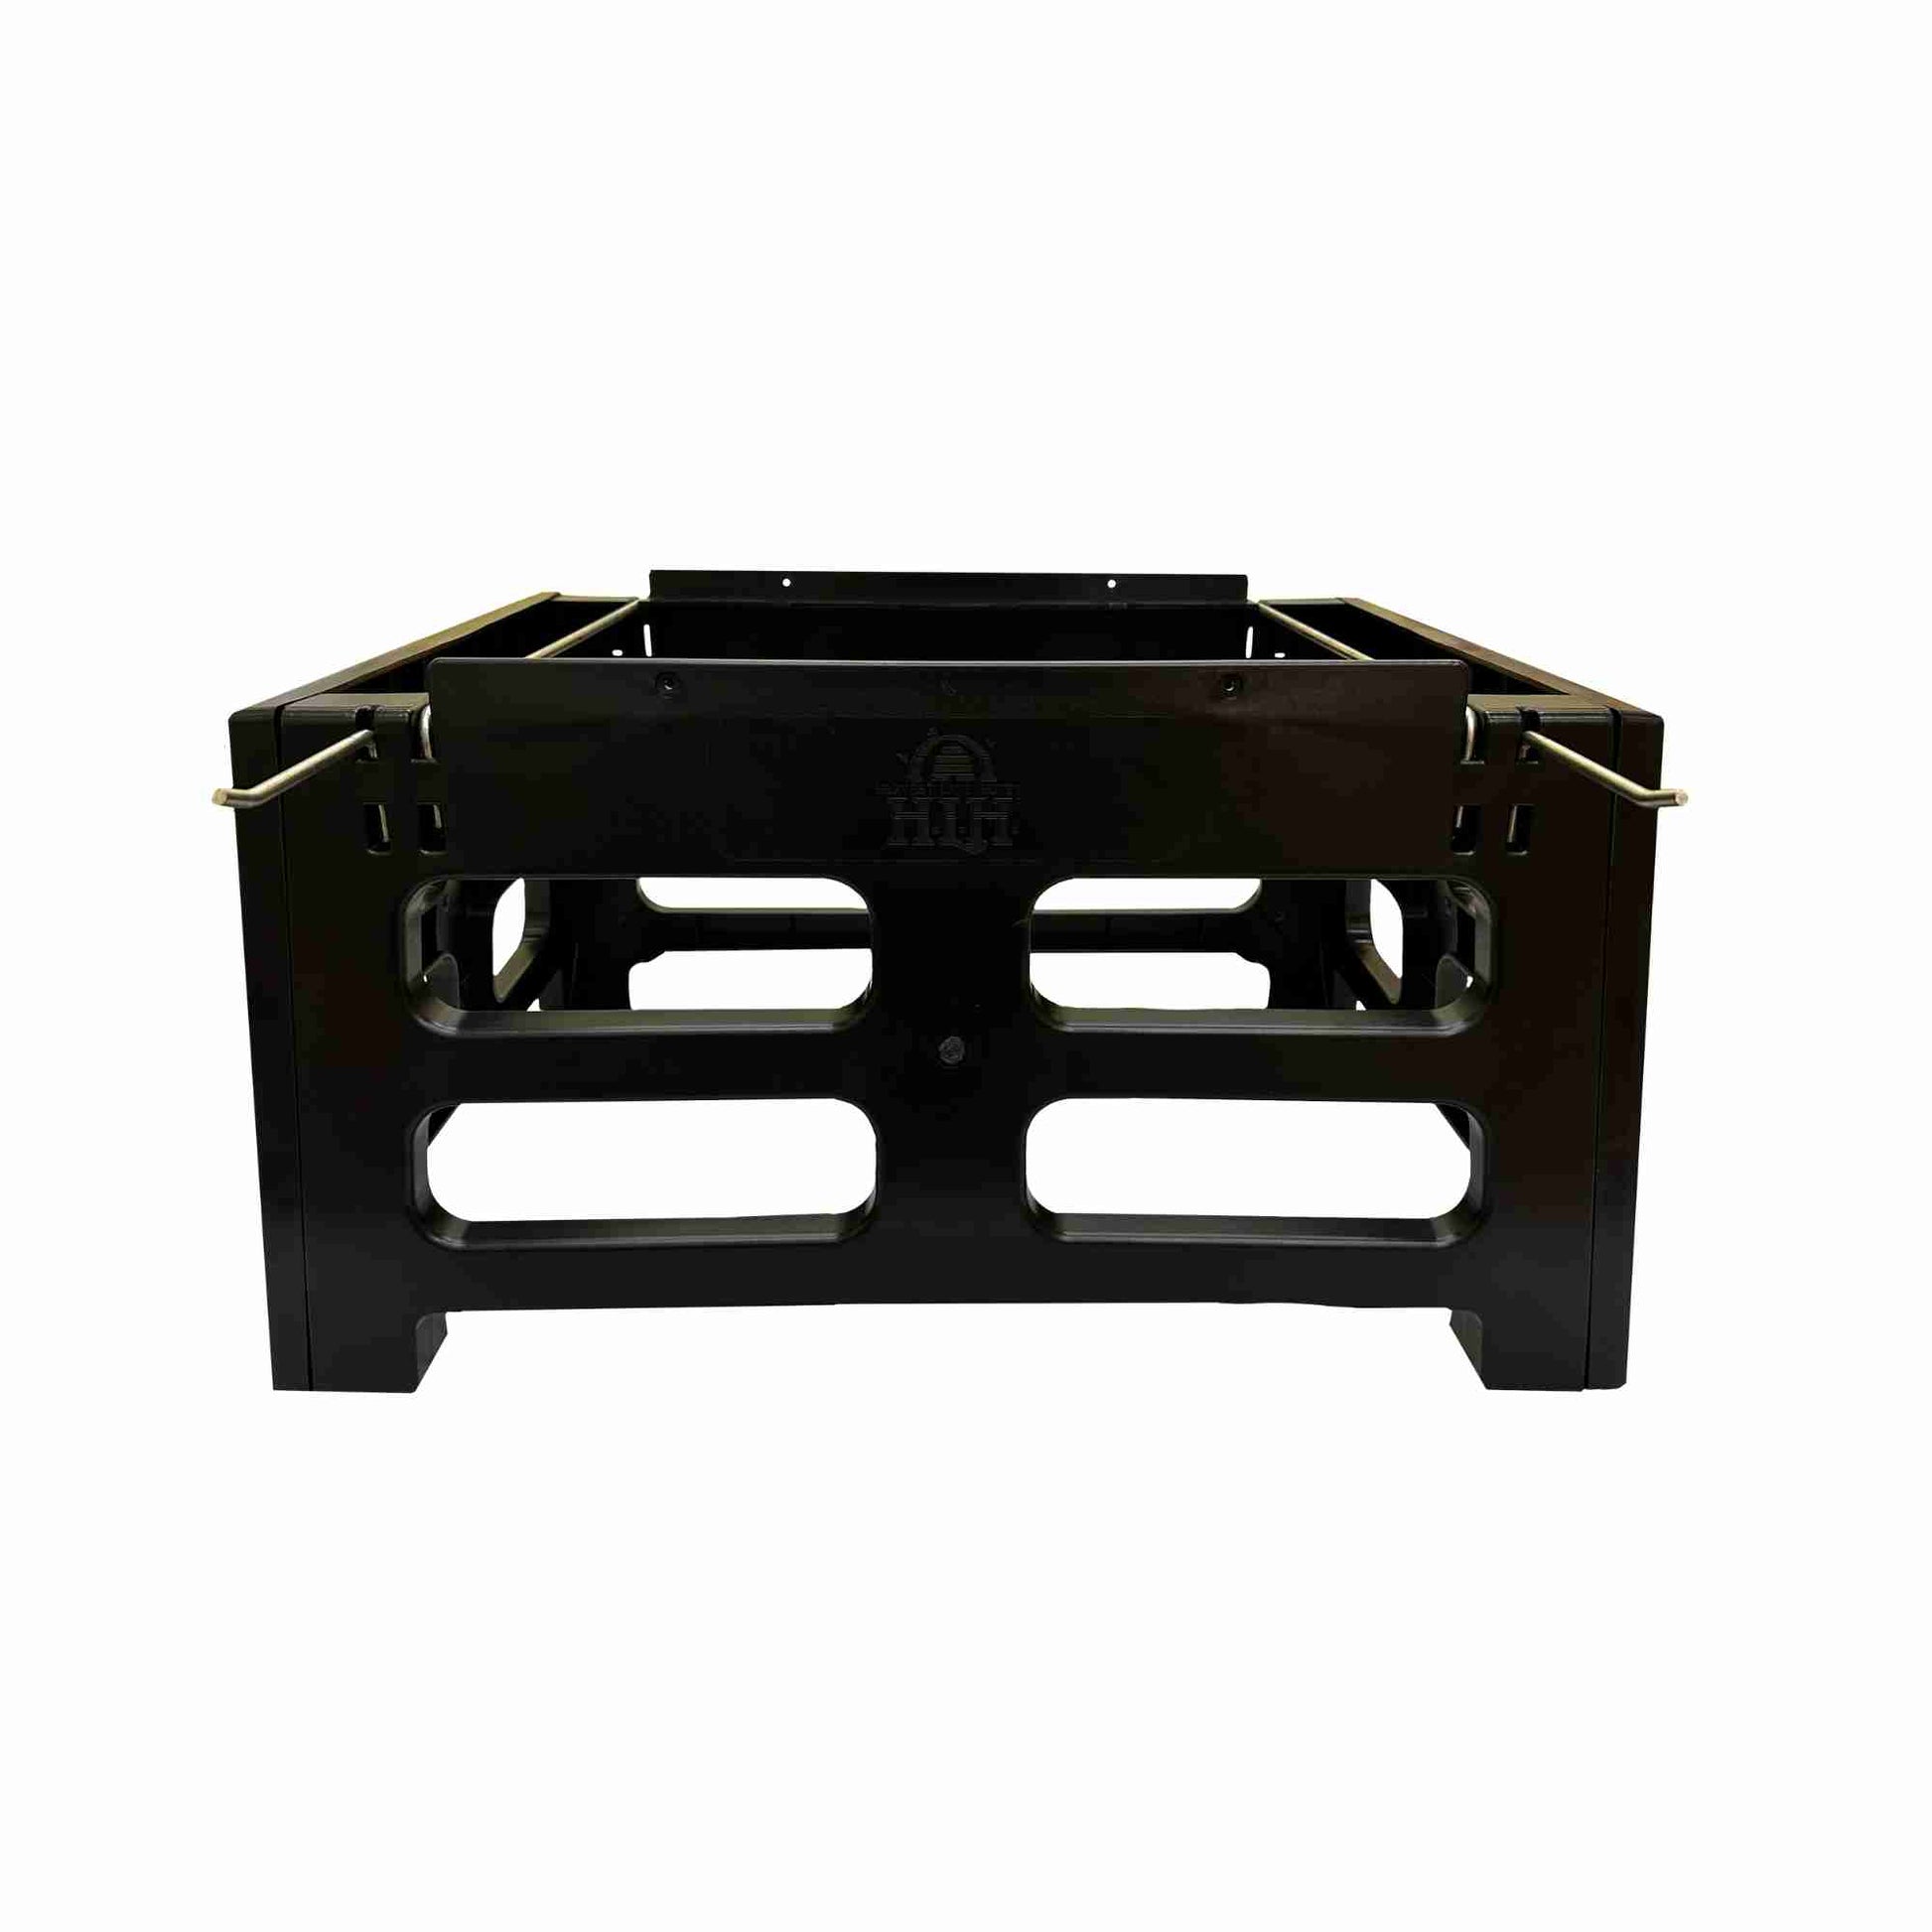
Step 4 – Add Support Bars
Insert the metal support & Frame bars pieces into the holes provided. Use a little silicone if needed to help them slide in.
Share